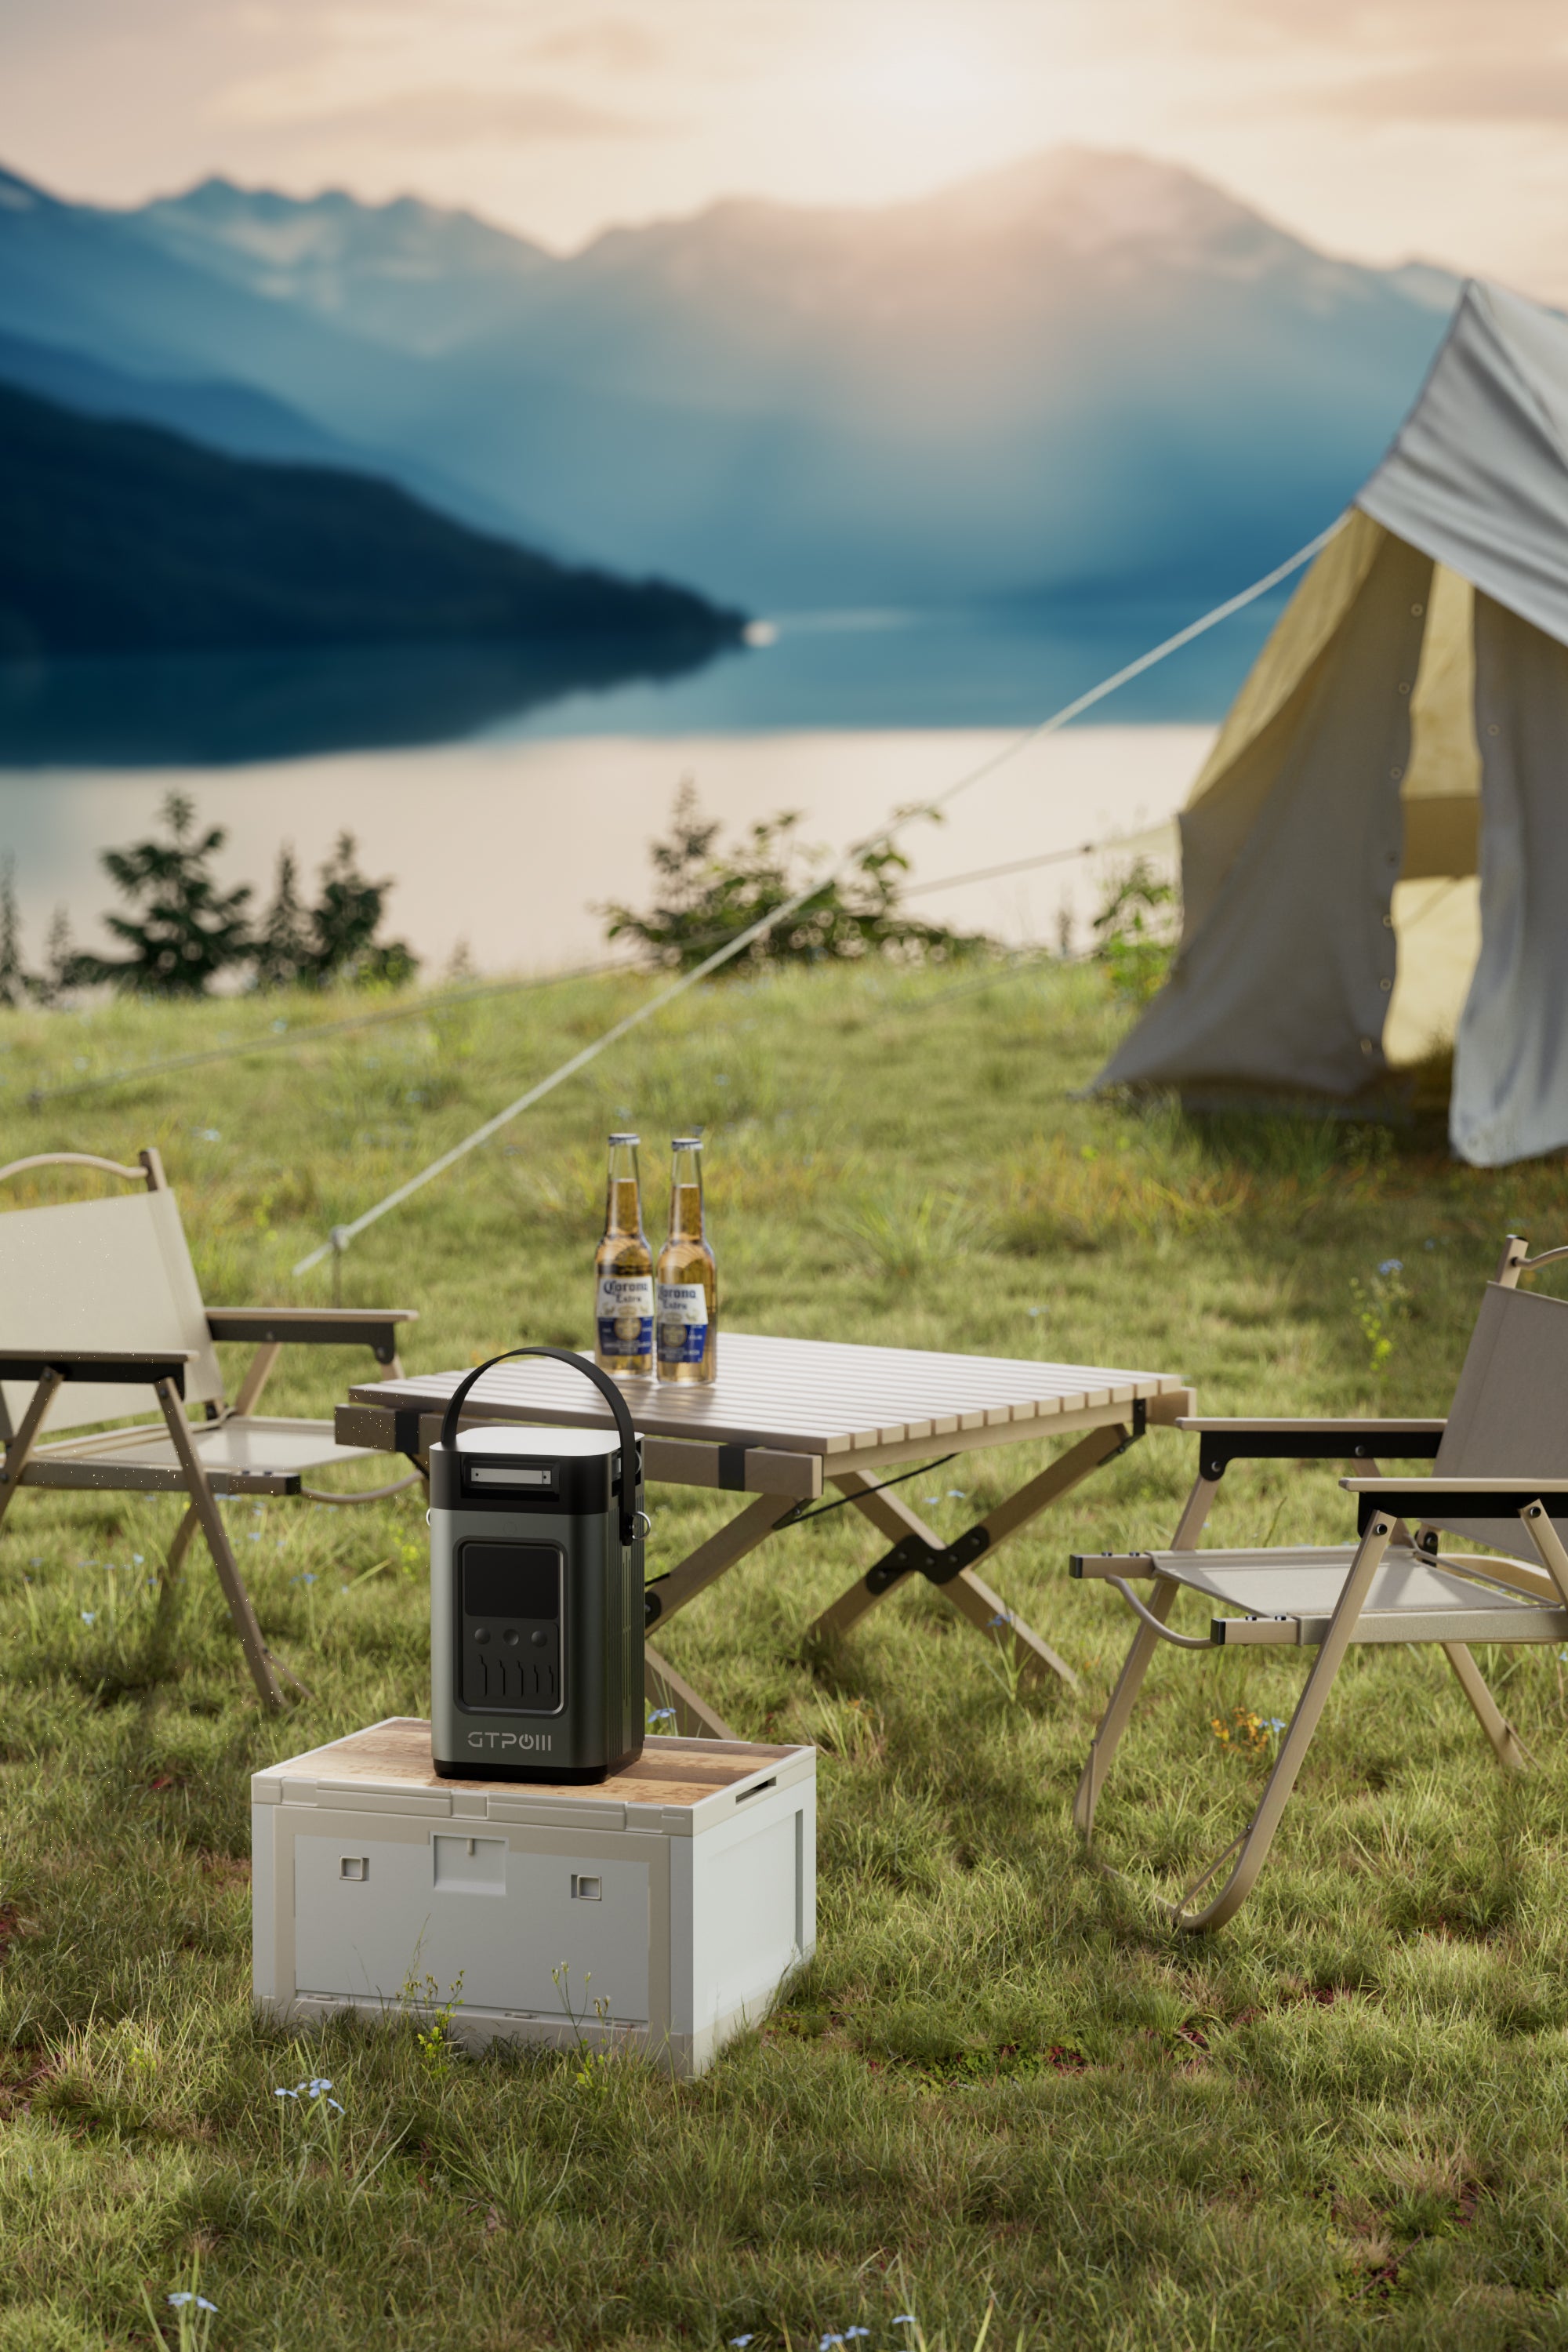
What Size Solar Panel (Watts) Do You Actually Need? A No-Nonsense Guide
You’ve decided to go solar for your off-grid adventures — good call. No more noisy generators, no more hunting for shore power. But here’s where most people get stuck: what size solar panel do I actually need? Too small and you’ll be watching your battery drop by sunset. Too big and you’ll spend money on watts you can’t realistically use.
And not all panels are created equal — whether you're looking at a premium bifacial solar panel from GTPOW or a standard monofacial one, the sizing math stays the same.
The answer isn’t guesswork — it’s basic math. And it’s easier than you think. Here’s how to size your solar panel right, the first time.
Step 1: Figure Out What You’re Actually Using
Before you buy a single panel, you need to know how much power you burn each day. This is measured in watt-hours (Wh) — basically watts × hours.
Grab every device you plan to run. Look for the watt rating on the label (or use Volts × Amps = Watts). Then estimate how many hours per day it runs. For things like fridges, you can estimate using cycles/duty cycle (how often the compressor runs).
Here’s a quick example of what that looks like:
|
Device |
Watts |
Hours/Day |
Daily Wh |
|
12V compressor fridge |
50W |
24 hrs × ~30% |
~360Wh |
|
LED lights |
30W |
5 |
150Wh |
|
Phone/tablet charging |
20W |
4 |
80Wh |
|
Laptop |
60W |
3 |
180Wh |
|
Water pump |
40W |
1 |
40Wh |
Add it all up and you get your Daily Wh for that setup.
Reality check
Most people underestimate by 20–30%. Be honest with yourself about how long you really run things like lights, charging, and especially any “always-on” loads.
Also don’t forget startup/surge needs. Some devices (fridges, pumps, motors) may briefly require 2–3× running watts to start.
That total Daily Wh is your starting point.
Step 2: Match Your Panel Size to Your Location
Now you know your daily Wh, it’s time to factor in where you camp.
Solar panels don’t produce their rated wattage all day — they only hit peak output during peak sun hours (when sunlight is h3 enough to generate close to rated power). The rest of the day, output drops.
Here’s the simplified sizing formula:
Solar Watts Needed = (Daily Wh ÷ Peak Sun Hours) ÷ System Efficiency × Safety Buffer
Peak sun hours (PSH) — use as a quick estimate
Peak sun hours vary by location and season, not just by state. But for a fast estimate, these ranges are commonly used:
- Arizona, Nevada, New Mexico: 6–8 hours
- California, Colorado, Texas: 4.5–7.5 hours
- Florida, Georgia, Carolinas: 3.5–4.5 hours
- Pacific Northwest, Midwest, Northeast: 2.5–4 hours
If you need 1,000Wh/day and camp in California (say 5 PSH):
1000÷5=200W(before losses)
Same gear in Washington (say 3 PSH):
1000÷3≈333W
That’s the geography reality: if PSH drops, you need more panel wattage.
Don’t forget losses + buffer
Real-world solar output is typically lower than “nameplate” because of things like wiring losses, temperature, controller behavior, dust/pollen, and angle/sun tracking limitations. A practical way to handle this is using a system efficiency factor (often around 0.7–0.8).
Also add a safety buffer (20–25%) to cover variables like partly cloudy days, imperfect placement, and battery/temperature effects.
So if you calculate 200W and apply typical real-world factors (example using ~0.75 and ~0.8):
200÷0.75÷0.8≈333W
For a typical RV with a fridge, lights, and small devices, you’ll often land somewhere around 400–800W. Add air conditioning and you’re quickly in 1,000W+ territory.
Step 3: Squeeze Every Watt Out of Your Panels
You’ve got the right size — now make sure you actually get the power.
Orientation (direction)
In the U.S., panels facing true south generally produce the best yearly output. South-facing gives you near maximum performance; southeast/southwest usually do slightly worse; east/west drops more because your peak production won’t line up with the sun’s highest angle.
If you can’t face true south, east gives you morning power and west gives you afternoon power. Choose based on when you actually use energy.
Tilt angle (winter vs summer)
Tilt matters almost as much. The sweet spot is roughly your latitude for annual production.
Tilt steeper in winter (latitude + 10–15°) to catch low-angle sun
Tilt shallower in summer (latitude − 10–15°)
Even a fixed tilt near your latitude can still yield 95–98% of optimal annual output.
Wiring: series vs parallel (don’t oversimplify)
How you wire panels (series or parallel) depends on your charge controller and its voltage/current limits.
Series wiring increases voltage (helpful for longer runs and better matching with MPPT behavior in many systems)
Parallel wiring increases current (often preferred for certain PWM setups and some shading situations)
If you’re using an MPPT controller, it often makes sense to use series strings—as long as you stay within the controller’s voltage limits (especially Voc in cold weather).
With PWM, you typically have less flexibility because the controller is designed around battery voltage.
Bottom line: match your wiring to the controller’s allowed input ranges, not just to what “sounds right.”
Keep them clean
Dust, pollen, and bird droppings can noticeably reduce output. A quick rinse with low-pressure water and a soft sponge every few trips makes a difference. Clean in the morning or evening when panels are cool.
Avoid shading at all costs
Even partial shading can reduce output significantly because bypass paths may activate depending on how your panels are built and wired. For best performance, keep panels out of:
- tree/branch shade
- tent awning shadows
- vehicle shadowing
- sunrise/sunset “edge” shading that hits part of the array
The Bottom Line
Sizing solar panels isn’t rocket science — it’s honest math. Add up your daily watt-hours, check your local peak sun hours, factor in real-world losses, and add a safety buffer.
For most campers, that lands somewhere between 300W and 800W, depending on your gear and where you roam. If you add higher draws (especially HVAC), plan for much more.
Point your panels generally south, tilt them near your latitude, keep them clean, avoid shading, and wire the array in a way that matches your controller’s real voltage/current limits. Do that, and you’ll stop waking up to a dead battery.
No guesswork. Just power — exactly when you need it.