Cómo utilizar un cargador solar
31 Mar 2026
0 Comentarios
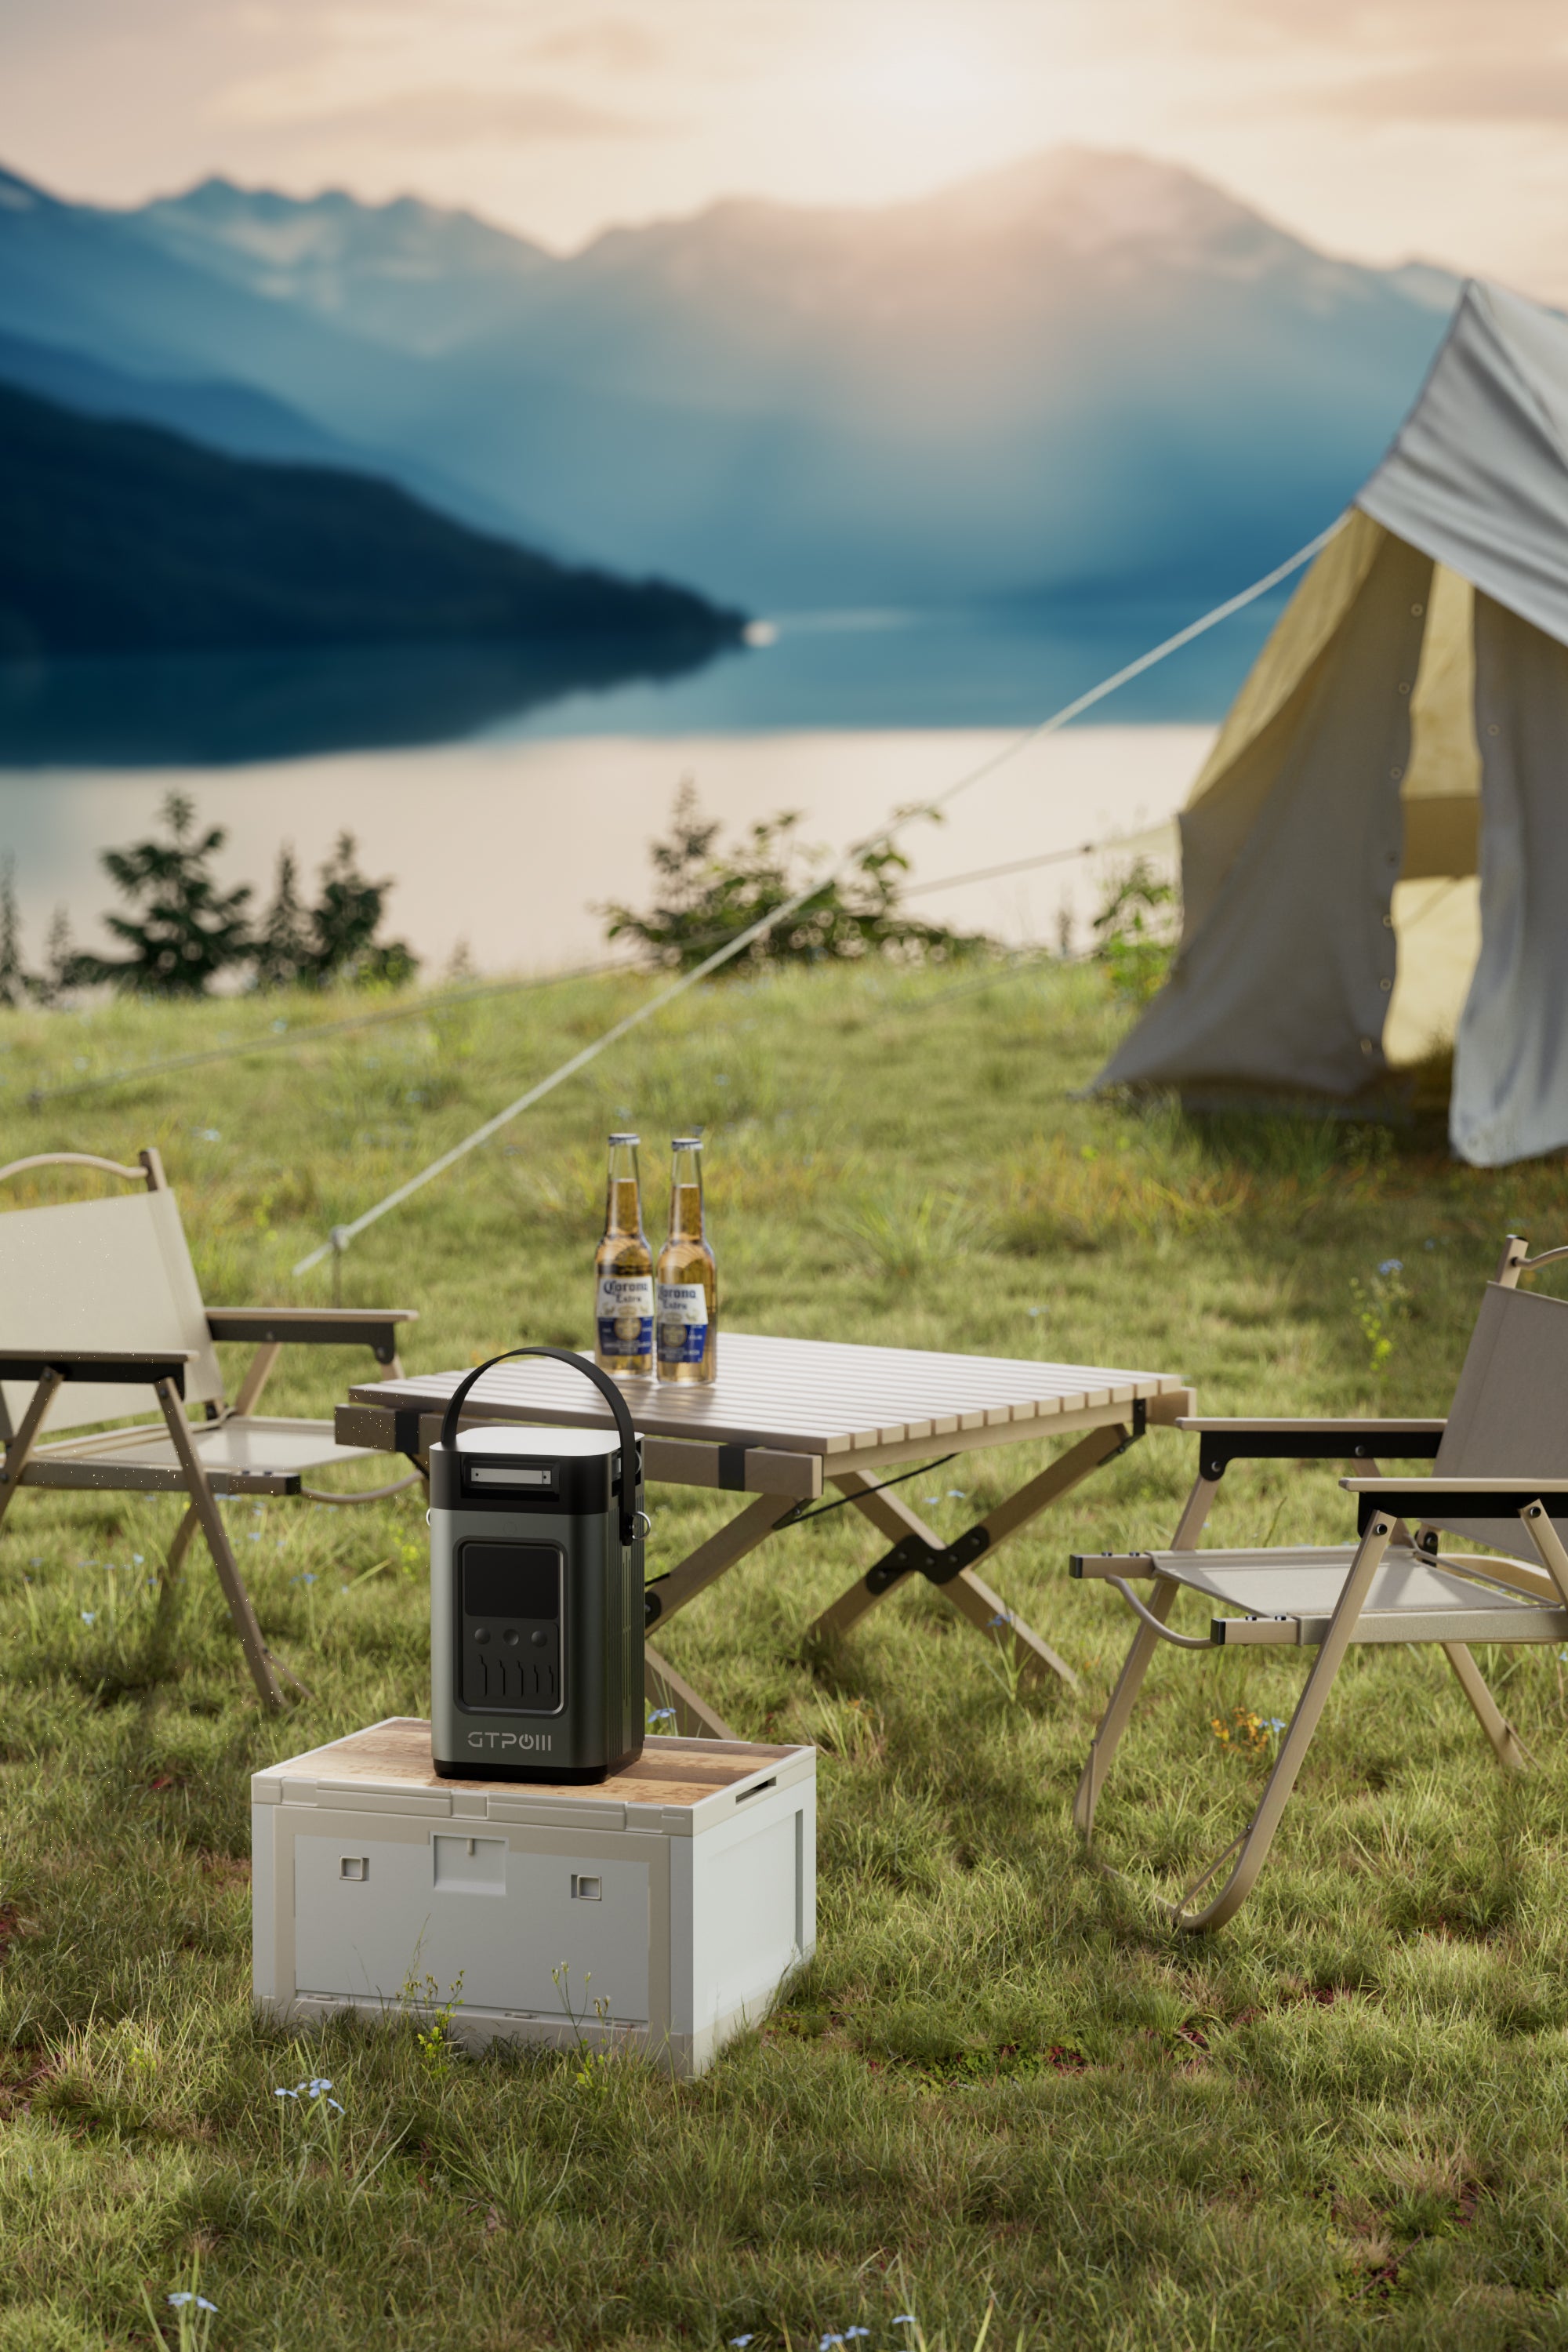
En la era de la vida autosuficiente y las aventuras al aire libre, un cargador solar es la piedra angular de una conexión sin interrupciones. Carga solar exterior, convertir la luz solar en energía confiable para todos sus dispositivos electrónicos. Ya sea que esté instalando Paneles solares para acampar en la naturaleza, optimizando Energía solar para la vida en autocaravana. en la carretera abierta o construyendo una relación estable Energía solar aislada de la red para cabañas En una casa aislada en el bosque, dominar el uso correcto de un cargador solar permite alcanzar la verdadera independencia energética. Esta guía incluye instrucciones paso a paso, consejos específicos para cada situación, precauciones de seguridad y trucos para optimizar el consumo, haciendo que la energía solar sea accesible para todos los amantes de la naturaleza y quienes viven fuera de la red eléctrica, sin necesidad de conocimientos eléctricos profesionales.

Qué preparar antes de usar un cargador solar
Una preparación sólida sienta las bases para una carga solar eficiente, y estos pasos se aplican a todos los escenarios desde Paneles solares para acampar a Energía solar aislada de la red para cabañas:
- Evalúe sus necesidades energéticas Calcula la potencia total de los dispositivos que alimentarás: multiplica la potencia de cada dispositivo por las horas de uso diarias para obtener tu consumo diario de energía (kWh = (vatios × horas) ÷ 1000). Para Energía solar para la vida en autocaravana., Ten en cuenta la potencia máxima (1-2 veces la potencia de funcionamiento) para electrodomésticos como minineveras que necesitan potencia extra para arrancar. Esto garantiza que la potencia de tu cargador solar se ajuste a tus necesidades reales, evitando la falta de potencia o el desperdicio.
- Inspeccione sus equipos solares. Compruebe que los paneles solares no tengan arañazos, polvo ni grietas; incluso una fina capa de polvo puede reducir la eficiencia de carga en más del 30 %. Asegúrese de que los puertos USB-A/Tipo-C estén limpios y tengan clasificación de resistencia al agua y al polvo (e.g. , IP65) permanecen intactos para uso en exteriores. Para plegables Paneles solares para acampar, Verifique que las bisagras y los clips sean resistentes; para fijación Energía solar aislada de la red para cabañas En los sistemas, compruebe que el cableado y los herrajes de montaje no estén sueltos.
- Reúna los accesorios esenciales Lleva contigo cables de carga de alta calidad (tipo C para carga rápida) y una batería externa portátil para almacenar energía; algo fundamental para días nublados o para usar por la noche. Energía solar para la vida en autocaravana. y Energía solar aislada de la red para cabañas Se requieren componentes adicionales: controladores de carga (para evitar la sobrecarga), inversores (para la alimentación de CA) y cables de extensión. Para acampar, es imprescindible un soporte ligero para paneles o clips de montaje para ajustar el ángulo del sol sin colocar los paneles sobre suelo mojado.
- Encuentra el lugar perfecto para disfrutar del sol. Los cargadores solares funcionan mejor en luz solar directa y sin obstáculos (Condiciones STC: intensidad lumínica de 1000 W/m²). Para acampar, busque áreas abiertas sin árboles; para autocaravanas, estacione en lugares sin sombra o use paneles portátiles para aprovechar la luz solar; para cabañas, instale paneles en el techo o pared orientados al sur para obtener luz solar durante todo el día. Marque la trayectoria del sol de este a oeste para maximizar las horas de luz.
Guía paso a paso para usar un cargador solar (válida para cualquier situación)

El funcionamiento básico de un cargador solar es sencillo, y estos pasos funcionan para Carga solar exterior, Acampar, vivir en autocaravana o en cabaña:
Paso 1: Despliegue y coloque el panel solar.
Paneles portátiles totalmente desplegados (la mejor opción para Paneles solares para acampar) para exponer toda la superficie—Nunca deje los paneles parcialmente plegados. ya que reduce la absorción de luz.Colocar los paneles en un Ángulo de 30-45° orientado hacia el sol (coincidiendo con la elevación del sol) para una máxima eficiencia. Para Energía solar para la vida en autocaravana., Los paneles fijos montados en el techo permanecen en su lugar mientras se conduce, y los paneles portátiles se pueden colocar en el suelo cuando se está estacionado; para Energía solar aislada de la red para cabañas, Utilice soportes inclinables para ajustar el ángulo según los cambios estacionales de la luz solar.
Paso 2: Conecte los dispositivos o el sistema de almacenamiento de energía.
Conecte un extremo del cable al puerto del cargador solar (USB-A/Tipo-C) y el otro a su teléfono, computadora portátil o batería externa. Para Energía solar para la vida en autocaravana. y Energía solar aislada de la red para cabañas, primero conecte los paneles a un controlador de carga y luego al banco de baterías; este es un paso innegociable para proteger las baterías de daños por sobrecarga. Para acampar, Primero, carga una batería externa. Durante el día se puede aprovechar para generar energía solar y por la noche para alimentar dispositivos, lo que elimina la dependencia de la luz solar constante.
Paso 3: Monitorear y ajustar para lograr una eficiencia óptima.
Compruebe el estado de carga de su dispositivo con regularidad; si es lento, cambie la posición del panel cada 1-2 horas para que siga al sol. Para Energía solar para la vida en autocaravana., utilice un monitor solar para rastrear el voltaje y la corriente en tiempo real; para Energía solar aislada de la red para cabañas, Limpie inmediatamente las hojas o la nieve caídas de los paneles para evitar el sombreado parcial (una sola hoja puede reducir la eficiencia en un 50%). Incluso pequeños ajustes de ángulo pueden aumentar Carga solar exterior eficiencia en un 20-40%.
Paso 4: Desconecte y guarde correctamente
Cuando la carga esté completa o se ponga el sol, desconecte los dispositivos. primero (para evitar el consumo excesivo de energía), luego limpie los paneles con un paño suave y seco para eliminar el polvo y la suciedad. Plegable y portátil. Paneles solares para acampar y guárdelos en una bolsa seca y acolchada; para fijos Energía solar aislada de la red para cabañas En el caso de paneles de techo para autocaravanas, cúbralos durante condiciones climáticas extremas (granizo, lluvia intensa) para evitar daños físicos. Si los paneles son plegables, afloje ligeramente las bisagras al guardarlos durante un período prolongado para evitar que se doblen.
Consejos específicos para cada escenario para lograr una carga solar exitosa.
Cada estilo de vida fuera de la red tiene necesidades únicas; estos consejos personalizados optimizan Paneles solares para acampar, Energía solar para la vida en autocaravana. y Energía solar aislada de la red para cabañas Para un rendimiento máximo:
Paneles solares para acampar: ligeros y portátiles. & Eficiente
Acampar exige portabilidad, así que elige Paneles solares plegables de 20-45 W que quepan en tu mochila. Usa elementos naturales (rocas, troncos caídos) para apuntalar los paneles si no tienes un soporte, manteniéndolos alejados de la hierba húmeda y el barro. Para acampar en el bosque, camina hasta un claro abierto para obtener luz solar sin obstáculos; para acampar en la playa, coloca los paneles sobre una toalla para evitar que la arena raye el revestimiento antirreflectante. Aprovecha carga pasiva—Sujeta los paneles a tu mochila con mosquetones mientras haces senderismo, para que puedas cargar una batería externa sobre la marcha y regresar al campamento con la batería completamente cargada.
Energía solar para la vida en autocaravana: flexible y portátil. & Continuo
Los propietarios de autocaravanas tienen dos opciones: paneles monocristalinos permanentes instalados en el techo (18-22% de eficiencia, ideal para vivir de forma totalmente autónoma) o paneles plegables portátiles (Para viajes ocasionales). Instale paneles fijos en el techo orientado al sur con almohadillas antideslizantes para evitar vibraciones durante la conducción; utilice paneles portátiles como complemento cuando esté estacionado, colocándolos al sol incluso si la autocaravana está a la sombra.Combínala con un banco de baterías de fosfato de hierro y litio (LiFePO4): tiene una vida útil más larga y una mayor eficiencia de descarga que las baterías de plomo-ácido, perfectas para alimentar las luces de las autocaravanas, los minirefrigeradores y los aparatos electrónicos.
Energía solar aislada de la red para cabañas: fiable y a largo plazo. & Sistemático
Las cabañas necesitan un Sistema solar fijo de alta potencia (100 W o más) Combinado con un banco de baterías de gran capacidad y un inversor. Monte los paneles en el techo o pared orientados al sur con una inclinación de 30 a 45° e instale un protector contra rayos para evitar daños por sobretensiones durante tormentas eléctricas. Limpie los paneles mensualmente para eliminar hojas, polvo y excrementos de pájaros; utilice solo un paño suave o un limpiador neutro y limpie temprano por la mañana o al atardecer para evitar el choque térmico del agua fría sobre los paneles calientes. Revise el cableado y los controladores de carga trimestralmente para detectar corrosión o holgura, y reemplace las baterías cuando su capacidad baje al 70 % de su valor nominal.
Precauciones de seguridad críticas & Trucos para aumentar la eficiencia
Precauciones de seguridad esenciales
- Evite las condiciones climáticas extremas.Nunca utilice cargadores solares bajo lluvia intensa, granizo, tormentas eléctricas o ventiscas; incluso los paneles con clasificación IP65 pueden sufrir daños en sus circuitos internos por filtraciones de agua o impactos físicos. A temperaturas superiores a 60 °C, evite la exposición prolongada de los paneles sin usar a la luz solar directa para prevenir el sobrecalentamiento de la batería.
- No tocar los puertos/paneles con las manos mojadas.Mantenga las manos secas al conectar/desconectar cables; la humedad puede causar cortocircuitos, dañando tanto el cargador como los dispositivos. Paneles solares para acampar Cerca del agua, utilice tapas impermeables para los puertos y evite colocar los paneles en agua estancada.
- No modificar ni sobrecargar:Desmontar o modificar los cargadores solares anula la garantía y provoca riesgos de incendio/descarga eléctrica. Nunca alimente dispositivos con una potencia que exceda la salida máxima del cargador (e.g. (un cargador de 45 W no puede alimentar un refrigerador portátil de más de 100 W).
- Mantener alejado de materiales inflamables.Mantenga una distancia de 1 metro de la gasolina, el propano, las fogatas y otros materiales inflamables; esto es fundamental para acampar y para la vida en vehículos recreativos cerca de los tanques de combustible.
Trucos profesionales para optimizar la eficiencia en la carga solar al aire libre.
- Agregue un amortiguador de energía:Para cargadores solares pequeños, conecte un condensador electrolítico de 470 μF a la salida del panel para estabilizar las fluctuaciones de voltaje causadas por la nubosidad o los cambios de luz.
- Evite la corriente inversa.: Instale un diodo Schottky en el terminal positivo del panel para evitar que la energía de la batería regrese al panel durante la noche.
- Utilice el almacenamiento de energía de forma inteligente.:Carga siempre primero una batería externa/portátil: la energía almacenada garantiza el suministro eléctrico a los dispositivos cuando se pone el sol, especialmente para acampar y vivir en cabañas aisladas.
- Haga coincidir el tipo de panel con el escenario.Los paneles monocristalinos ofrecen el mejor rendimiento con poca luz (ideales para acampar o para autocaravanas con espacio limitado); los paneles policristalinos son una opción económica para cabañas con amplio espacio en el techo.
Errores comunes que se deben evitar
Incluso los errores pequeños pueden reducir drásticamente la eficiencia de la carga solar; evite estos errores en cualquier circunstancia:
- Colocación de paneles planosColocar los paneles en el suelo desperdicia luz solar; utilice siempre un soporte o una base inclinable para orientarlos directamente hacia el sol.
- Ignorando el sombreado parcialUna sola rama o hoja que cubra parte del panel provoca un "efecto de punto caliente", dañando las células y reduciendo la eficiencia.
- Omitir el controlador de carga:Obligatorio para Energía solar para la vida en autocaravana. y Energía solar aislada de la red para cabañas—Evita la sobrecarga de la batería y prolonga su vida útil.
- Descuidar el mantenimiento regular:El polvo, el polen y los excrementos de pájaros se acumulan con el tiempo; limpie los paneles regularmente para mantener una alta eficiencia.
- Utilizar cables de baja calidad:Los cables delgados y baratos provocan caídas de voltaje; utilice cables gruesos y de alta calidad para conexiones de larga distancia (e.g. , configuraciones de cabina/RV).
Reflexiones finales
Utilizar un cargador solar es una forma ecológica y rentable de lograr la independencia energética, ya sea que esté utilizando Paneles solares para acampar para un viaje de fin de semana, optimizando Energía solar para la vida en autocaravana. para viajes a través del país o para construir Energía solar aislada de la red para cabañas Para vivir permanentemente en un lugar remoto. La clave del éxito es simple: Adapta tus equipos solares a tus necesidades energéticas, prioriza la luz solar directa, sigue las precauciones de seguridad y realiza el mantenimiento regular de tus equipos..
Con la configuración y el uso adecuados, la energía solar elimina la dependencia de los enchufes eléctricos, permitiéndote explorar más y vivir de forma más sostenible en plena naturaleza. Tanto si eres un campista ocasional, un viajero en autocaravana a tiempo completo o vives en una cabaña, un cargador solar bien utilizado convierte la luz del sol en una fuente de energía inagotable, impulsando cualquier aventura y estilo de vida fuera de la red eléctrica.