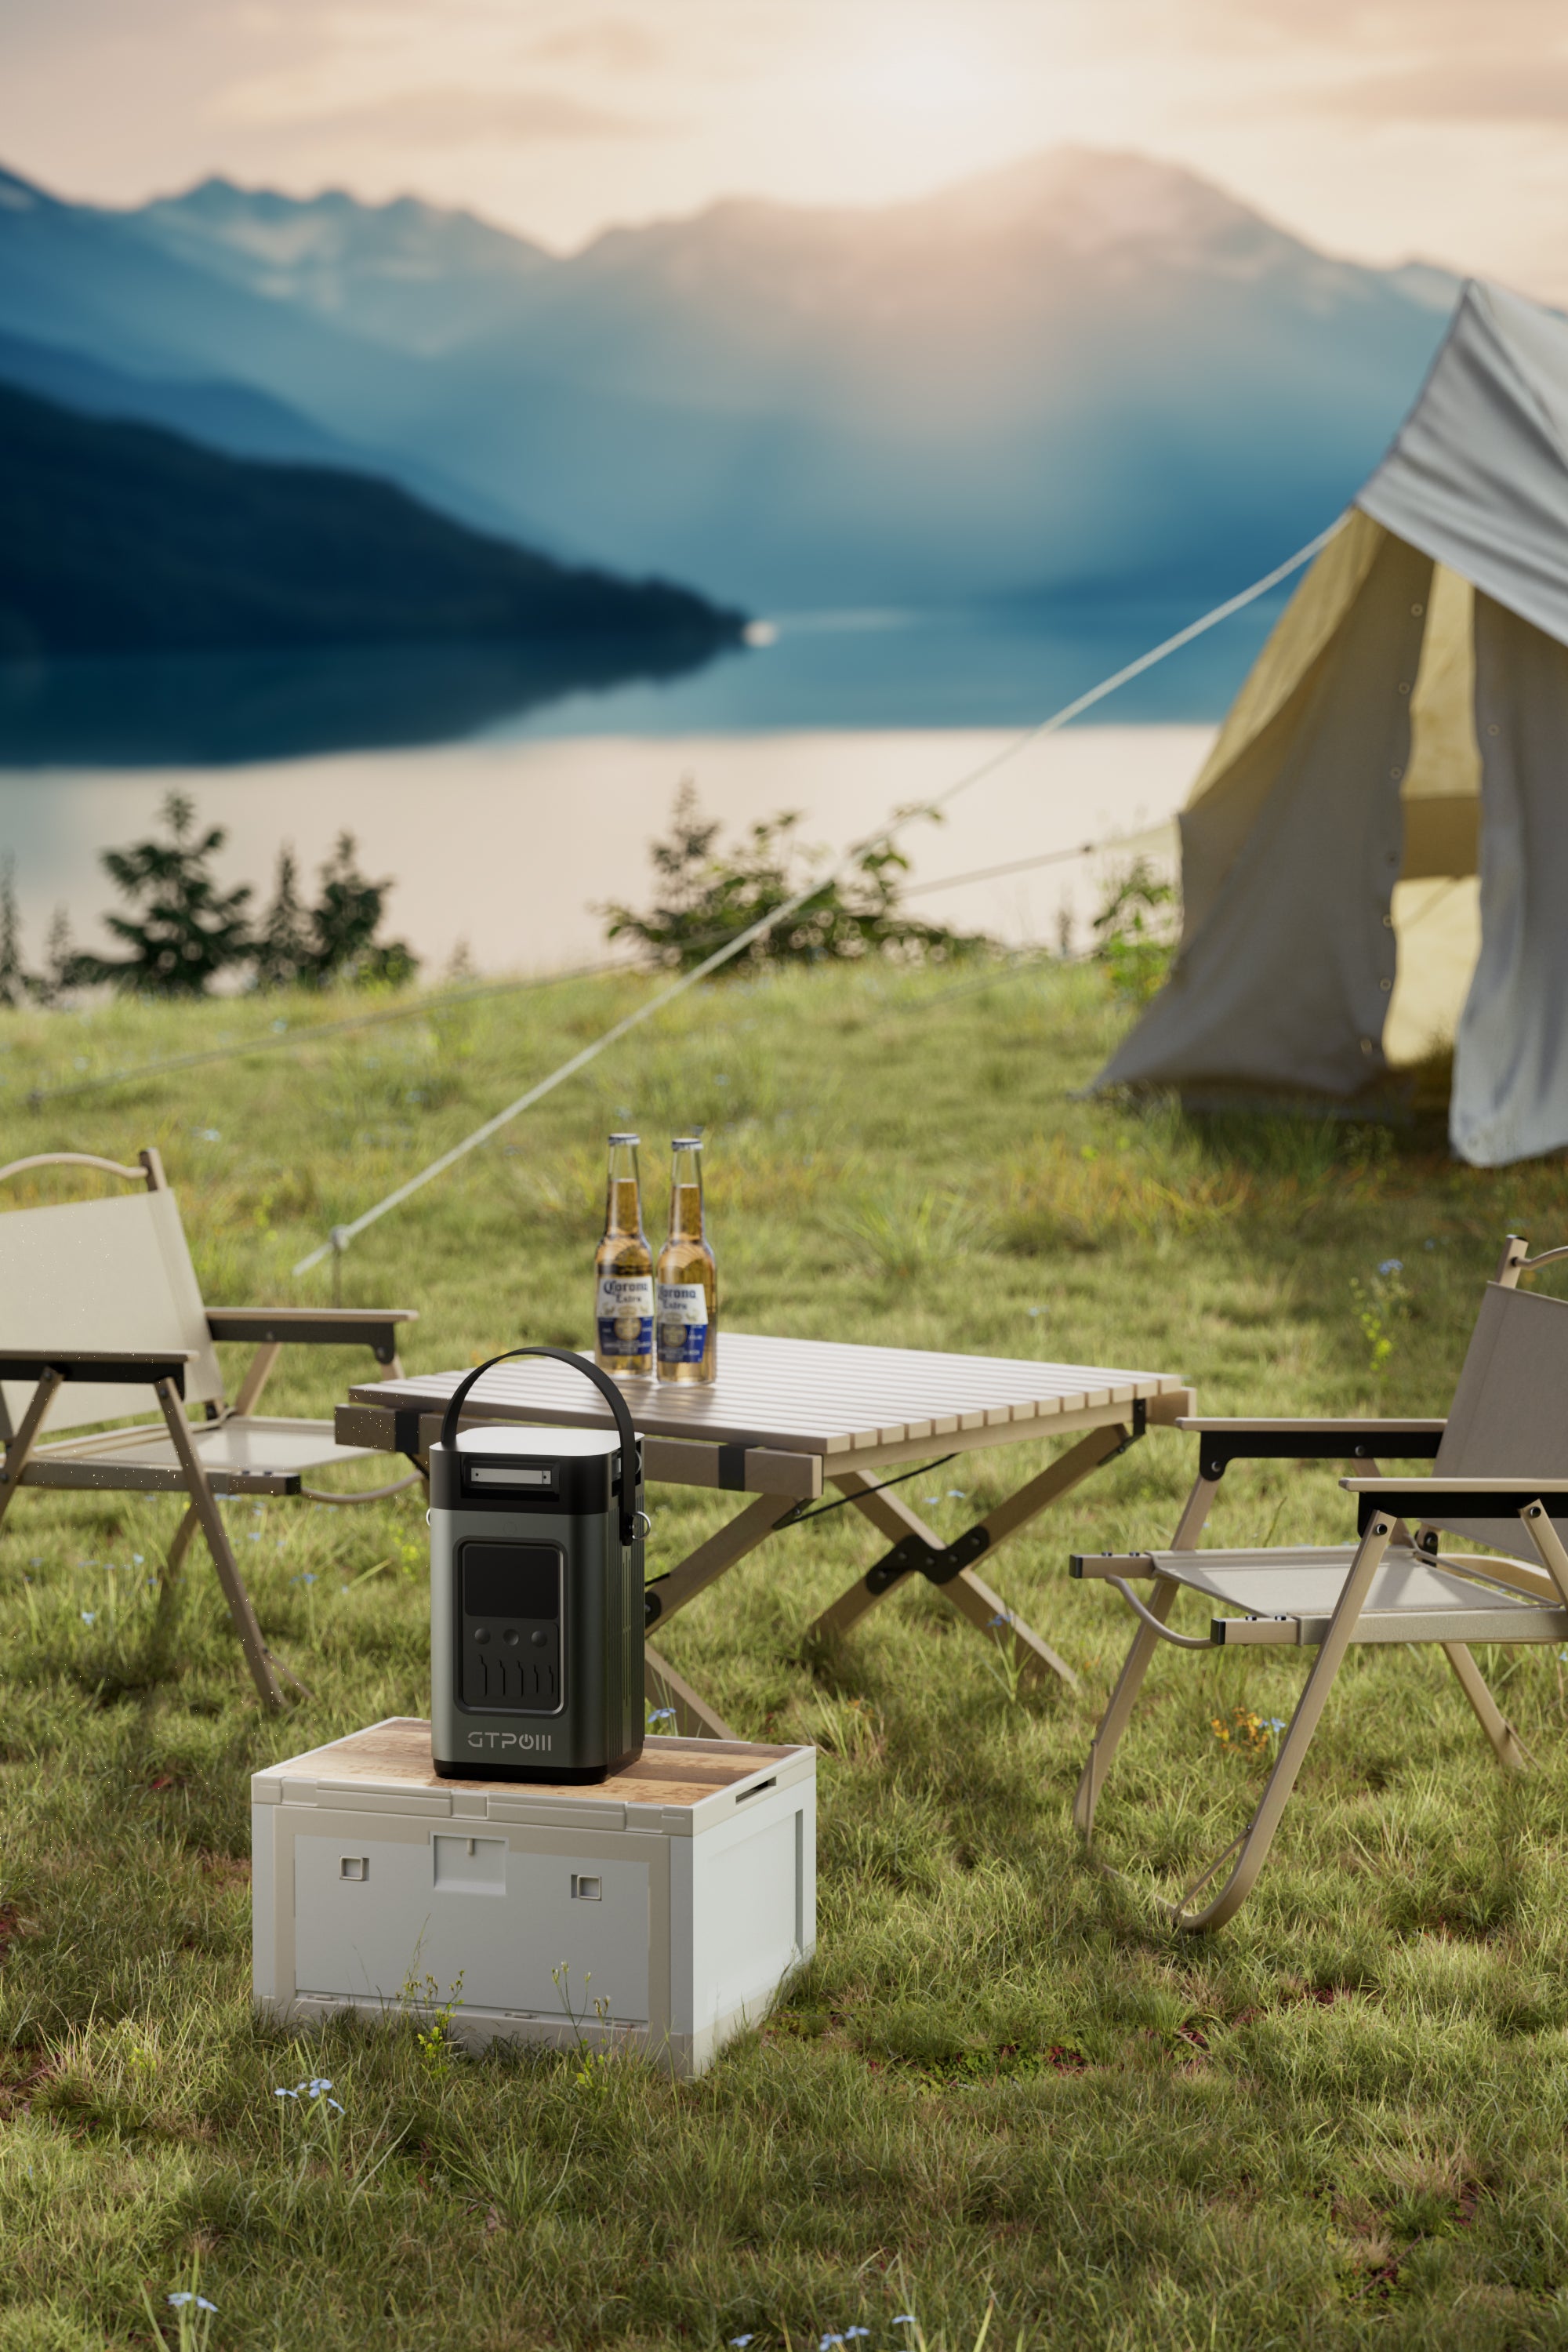
Guide d'installation du kit solaire pour balcon 800 W
Pourquoi l'énergie solaire sur balcon a-t-elle le vent en poupe ?
Les kits solaires pour balcons gagnent rapidement en popularité : une solution simple pour réduire sa facture d'électricité sans avoir à installer des panneaux sur toute la toiture. Cependant, le kit seul est inutile une fois rangé dans son emballage. Son installation et son raccordement dépendent de votre lieu de résidence et du modèle choisi.
Avant l'installation : vérifiez d'abord ces trois points.
Consultez la réglementation de votre État. Il n'existe pas encore de norme nationale. L'Utah a ouvert la voie en mars 2025, en exemptant les systèmes jusqu'à 1,2 kW de l'approbation du fournisseur d'électricité. Le Maine a suivi en avril 2026 avec des règles progressives : les systèmes de moins de 420 W ne nécessitent pas l'intervention d'un électricien, mais ceux de 420 W à 1 200 W (la plupart des kits de 800 W) en requièrent toujours un. D'autres États travaillent sur des projets de loi similaires. Aucune loi n'est encore en vigueur dans votre région ? Contactez d'abord votre service d'urbanisme.
Vérifiez votre règlement de copropriété ou votre bail. Certains États limitent désormais les interdictions des associations de copropriétaires concernant l'installation de panneaux solaires, mais les règles de conception (aspect, emplacement) restent généralement applicables. Vous êtes locataire ? Obtenez l'accord écrit de votre propriétaire avant d'acheter.
Vérifiez votre balcon. Il vous faut un emplacement exposé plein sud (ou presque) bénéficiant d'un ensoleillement maximal tout au long de la journée — sans arbres ni bâtiments voisins projetant de l'ombre. Les balcons des immeubles de grande hauteur sont également plus exposés au vent ; tenez-en compte pour la fixation des panneaux.
Étapes d'installation selon le type de kit
1 : Kit Flex (panneaux flexibles + micro-onduleur)
Éléments principaux : 2 à 4 panneaux flexibles (800 W au total), 1 micro-onduleur, sangles de montage ou pinces de fixation pour rambarde, câble d'alimentation secteur.
Mesures:
1. Déballez et vérifiez les dommages liés au transport : panneaux fissurés, connecteurs MC4 pliés, fils effilochés.
2. Fixez les panneaux à la rambarde à l'aide de sangles ou de pinces robustes passant par les œillets. Orientez-les vers le sud et assurez-vous que la rambarde ne projette pas d'ombre.
3. Installez le micro-onduleur dans un endroit sec et stable, à l'abri de la pluie directe.
4. Connectez les panneaux au micro-onduleur avec des connecteurs MC4 — ils sont détrompés, donc ils ne s'insèrent que dans un seul sens.
5. Branchez le cordon d'alimentation du micro-onduleur dans une prise murale dédiée.
6. Laissez-le quelques minutes au soleil. Si rien ne se passe, vérifiez à nouveau vos connexions.
Conseils: Demandez à une deuxième personne de vous aider à suspendre les panneaux. Les sangles doivent être suffisamment serrées pour que les panneaux ne flottent pas au vent, mais pas trop pour éviter d'écraser les bords. Disposez les câbles de manière à ce que personne ne trébuche.
2 : Kit rigide (panneaux de verre + cadre rigide + micro-onduleur)
Éléments principaux : 2 ou 4 panneaux de verre rigides (800 W au total), 1 micro-onduleur, cadre de montage ou support de ballast, crochets de rambarde ou supports de sol, câble de prise secteur. Le kit solaire pour balcon GTPOW appartient à cette catégorie.
Mesures:
1. Assemblez le cadre. Pour une installation sur rambarde, fixez d'abord les crochets. Pour une installation au sol, utilisez un support lesté et lestez-le avec des dalles.
2. Fixez les panneaux au cadre à l'aide de boulons. Les panneaux rigides prennent plus le vent que les panneaux flexibles, alors serrez tout à fond.
3. Fixez le micro-onduleur au cadre ou à un mur à proximité, à un endroit où vous pouvez l'atteindre pour vérifier le voyant d'état.
4. Connectez les panneaux au micro-onduleur via MC4, comme pour le type 1.
5. Branchez-le à une prise murale dédiée.
6. Attendez que le voyant d'état devienne vert — cela signifie qu'il produit.
Conseils: Ces panneaux sont lourds ; faites-vous aider pour les soulever. Inclinez-les de 20° à 30° pour la plupart des cas. U.S. latitudes. Si le support est installé au sol, utilisez un poids suffisant pour empêcher le vent de déplacer l'ensemble.
3 : Kit de stockage hybride (panneaux + boîtier de commande intelligent + batterie + micro-onduleur)
Composants principaux : 2 à 4 panneaux (800 W au total), 1 micro-onduleur, 1 batterie, 1 boîtier de commande intelligent, matériel de montage, câble de prise CA.
Mesures:
1. Montez les panneaux (de la même manière que le type 1 ou 2, selon le style du panneau).
2.Installez le boîtier de commande et la batterie dans un endroit ombragé et sec. La batterie étant l'élément le plus lourd, assurez-vous que le support sur lequel elle repose puisse supporter son poids.
3. Raccordez les panneaux à l'entrée du contrôleur de charge du boîtier de commande.
4. Raccordez le boîtier de commande à la batterie. Vérifiez bien la polarité : une inversion peut endommager la batterie.
5. Raccordez le boîtier de commande au micro-onduleur.
6. Branchez le micro-onduleur sur une prise murale dédiée.
Conseils: Pour éviter toute surchauffe, protégez la batterie du soleil. Suivez scrupuleusement le schéma de câblage du fabricant : plus il y a de connexions, plus le risque d’erreur est élevé.
4 : Kit hors réseau (sans raccordement au réseau électrique domestique)
Composants principaux : 2 à 4 panneaux (800 W au total), 1 contrôleur de charge, 1 banc de batteries, 1 onduleur à onde sinusoïdale pure, matériel de montage, connexions de charge CC/CA directes.
Mesures:
1. Montez les panneaux (identique au type 1 ou 2).
2. Installez le contrôleur de charge et l'onduleur dans un endroit ventilé — les deux génèrent de la chaleur.
3. Raccordez les panneaux à l'entrée PV du contrôleur de charge.
4. Raccordez le contrôleur à la batterie en utilisant un câble de section adaptée à l'ampérage. Un câble de section insuffisante peut provoquer une surchauffe.
5. Raccordez le banc de batteries à l'onduleur.
6. Branchez vos appareils directement sur les prises de l'onduleur — ce système ne se connecte jamais au réseau électrique de votre maison.
7. Mettez d'abord sous tension le contrôleur de charge, puis l'onduleur.
Conseils: Si vous n'êtes pas à l'aise avec le câblage en courant continu, faites appel à un électricien. Utilisez toujours le fusible ou le disjoncteur approprié entre la batterie et l'onduleur ; négliger cette étape présente un risque d'incendie important. L'absence de raccordement au réseau vous dispense des démarches administratives, mais vous ne bénéficierez pas non plus du crédit d'impôt lié au comptage net.
FAQ
Q. Ai-je besoin d'un permis ?
A. Cela dépend de votre État. L'Utah autorise l'installation par soi-même jusqu'à 1,2 kW. Le Maine exige l'intervention d'un électricien pour les systèmes de 420 W à 1 200 W. Dans tous les cas, vérifiez la réglementation locale.
Q. Mon propriétaire ou mon association de copropriétaires peuvent-ils m'en empêcher ?
A. Ils ne peuvent généralement pas l'interdire purement et simplement là où la loi de l'État vous protège, mais ils peuvent exiger qu'il soit soigné. Les locataires doivent d'abord obtenir l'accord écrit du propriétaire.
Q. Combien de temps dure l'installation ?
A. Moins d'une heure pour les kits de base à brancher. Kits hybrides ou hors réseau avec batteries : 2 à 4 heures.
Q. Et si mon balcon n'est pas orienté au sud ?
A.Southeast Le sud-ouest reste une bonne option. L'est bénéficie du soleil du matin, l'ouest de celui de l'après-midi. Le nord n'est généralement pas intéressant.
B.
Conclusion
Un kit de balcon de 800 W est l'une des solutions les plus simples pour produire sa propre électricité sans installer un système complet sur le toit. La configuration idéale dépend du type de kit : flexible pour les rambardes, rigide pour une fixation au sol, hybride pour le stockage, ou autonome pour une indépendance totale.
Avant toute chose : vérifiez la réglementation en vigueur dans votre région, obtenez l’accord de votre copropriété ou de votre propriétaire et assurez-vous que votre balcon est bien exposé au soleil. Choisissez des composants compatibles, utilisez du matériel conçu pour une utilisation extérieure et vérifiez soigneusement chaque connexion avant de brancher l’appareil.
Vous pourriez vouloir savoir :Kit solaire pour balcon GTPOW | Une solution solaire sans perçage conçue spécifiquement pour les appartements et les locataires